
Exclusive 20% Off for New Customers
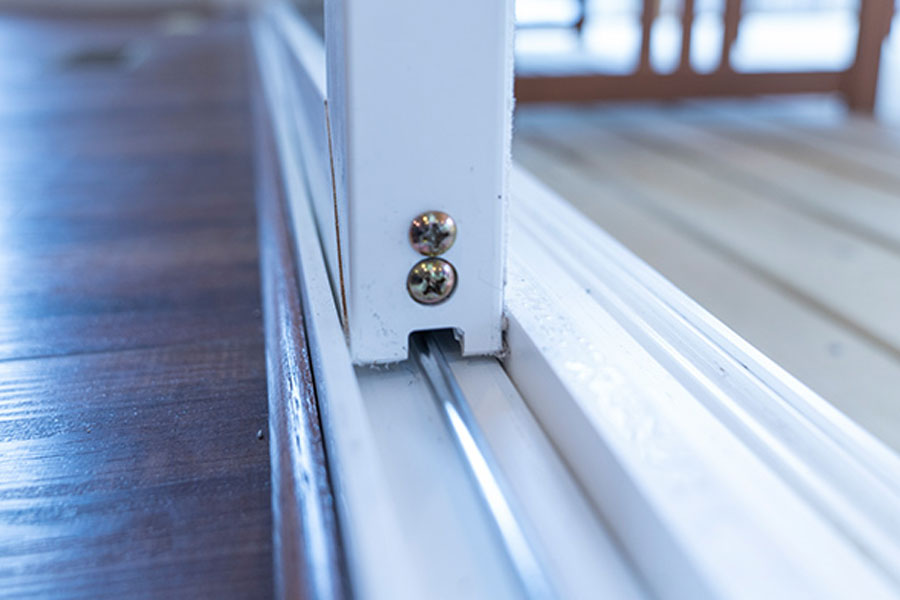
Sliding glass doors bring a good amount of natural light into a house and also provide easy passage to outdoor spaces. With time, the rollers may wear out or get damaged. At this stage, the rollers must be replaced so that the door functions smoothly again. It is quite a simple process but does demand precision with some necessary tools.
This informative post will walk you through the installation process of rollers for your sliding glass door. So, establishing your rolling glass door in easy working functionality should be a minor challenge after all.
Tools to Use
For starters, you will need to have the following equipment ready:
- Phillips and flathead screwdrivers
- Replacement rollers-Ensure they are a suitable size and type for your current rollers.
Tape measure - Tongs
- Silicone grease
- Soft cloth or blanket to cover the glass
Step 1: Moving toward the Sliding Glass Door
In installing new rollers on a sliding glass door, the foremost process is taking out the door from the track. It has some easy steps through which one can do it as follows:
- Lift the Door: Sliding doors, almost by their design, are attached at both top and bottom rollers. Tilt the door at the bottom slightly so you can pull the bottom roller off of the track, and then lift the top of the door off the top track.
- Remove the door: Once the top is freed, you tip the door to release rollers from the track. It will take a second person, depending on the size and weight of the door.
Place the door onto a soft surface such as a blanket or towel so that it will not break any glass and also damage the frame.
Step 2: Check existing rollers
To install new rollers, it is first necessary to assess the existing ones, and this will lead to developing the best alternatives.
- Check for Wear and Tear: There must be a sign of cracks, rust, or flattened rollers. Such a roll can be problematic if worn out, as it can be hard to open or close the door.
- Remove Old Rollers: In case your rollers are damaged or have become weak, you need to replace them. Most rollers come attached with screws. With the screwdriver, take out the screws holding the old rollers in place. If they do not come out, then you need to use pliers.
- Clean the Track: Since the door is removed, it’s a good time to clean the track. Take a broom, vacuum, or cloth and sweep out the dirt, debris, or any buildup in the track. The cleaning of the track will help new rollers to slide smoothly.
Step 3: Installation of new rollers
Now you’ve removed the old rollers and cleaned the track, it’s time to install the new rollers. Follow these steps carefully:
- Choose the Correct Rollers: Replace them with new ones that are the same size, type, and design exactly like the old ones. Make sure to purchase rollers that are the same size and appearance as the old ones to correspond with the sliding glass door style and the track system.
- Position the New Rollers: In the putting up process, most of the rollers go to the bottom of the door. Put the new roller and align the mounting holes of the old roller to achieve perfect alignment. The orientation should be as if it were the original one.
- Attach the Rollers: Pass the screws from the roller housing into the bottom rail of the door and firm them in place. It is not necessary to overtighten the screws, as this would cause the rollers to lose the proper alignment.
- Set roller height: Some rollers will have a tiny screw on them that you can use to set the height of the roller. You turn it with a screwdriver and set the door up on the track so it will ride flat when installed again. You want rollers to be a little above the track for the door to ride properly.
Step 4: Install the Door
You can now replace your door having installed the new rollers:
- Lift the Door Back Into Place: It will fit into the top track when all lined up; when all of that is lined up, lower the bottom of the door so the new rollers can settle into the bottom track.
- Test the Door’s Movement: Gently, sliding back and forth so it can be checked for moving freely. Rollers may need to be pushed down if the door feels tight or noisy.
- Level the Door: Use a level to ensure the door is sitting straight. If not, change the rollers to get the door level.
Step 5: Lubricate rollers and track
You will need to lubricate the rollers and track your sliding glass door to keep it moving.
- Lubricate the Rollers: Spray silicone-based lubrication spray on all rollers coated with a lubricant to reduce friction and prevent dirt and grime from building up.
- Grease the Track: Grease a small amount of the lubricant along the track length. Be careful and remove the excess because they attract dirt and other small dust particles.
Step 6: Check the Door
Oil rollers and track, and check the sliding glass door a number of times to see if it opens and closes using less resistance. If the door is loose, it might not fit properly.
Final Adjustments:
If it still doesn’t slide very smoothly, then rollers may require fine-tuning or additional settings in the track. First check how the rollers are placed; make sure they have to be adjusted at an accurate height. Now, second, go back to the track for possible obstructions or other problems like bent tracks.
Wrapping Up:
Replacing the rollers on a sliding glass door is perhaps one of the easiest and least expensive maintenance jobs that could really make a difference in how well the door works after being replaced by new ones. Here’s how to install the new sliding glass door rollers and achieve surface performance as similar as possible to when it was new. Just regular maintenance on track cleaning and roller lubrication will prevent future problems. With a little elbow grease and the right tools, your sliding glass door will glide as if new, affording you easy access to outside spaces for many years to come.
Recent Posts
- Why More Commercial Buildings Are Switching to Modern Curtain Wall Systems
- Transform Your Office Layout with Custom Glass Partition Installation
- Signs Your Building Needs Professional Curtain Wall Repair Services Today
- Upgrade Your Building with Durable and High-Performance Commercial Windows
- Why Office Glass Walls Are the Smart Choice for Modern Workspaces
- Interior Commercial Glass Doors That Improve Light, Privacy, and Style
- Broken Storefront Glass? Get Same-Day Repair to Avoid Business Loss
- Modern Curtain Wall Systems That Improve Energy Efficiency and Design Appeal
- Office Interior Glass Partitions: Smart Solutions for Flexible Workspaces
- Commercial Window Installation and Repair Services for Long-Term Value
Save 20% on Glass Repair & Installation
Get your exclusive discount code by filling the form below. Use it on your first service and start saving today.
Join Our Newsletter
Office Timings
- Sunday-Monday: Closed
- Tuesday-Thursday: 10:00am - 6:00pm
- Friday and Saturday: 10:00am - 3:00pm
©2026 Best Offer Glass. Lic # 1106427
Crafted with DigiCorns
Get a FREE Consultation!
Call Us at (415) 310-6948 NOW
to be connected to one of our experts!