

A broken window can be more than just an inconvenience—it can leave your home less secure, increase your energy bills, and allow the weather in. The good news is that with assistance and the proper equipment, you can fix broken window pane yourself. In this easy guide, Best Offer Glass professionals will show you how to cut glass for window repair easily and safely without wasting your time and money.
Why DIY Glass Cutting?
It is always best to call a professional, but if you want to do it yourself as a homeowner, cutting glass for window repair can be a handy skill. Not only does it enable you to repair a broken window pane yourself, but it enables you to do other do-it-yourself tasks such as shelves, mirrors, or picture frames.
Let’s get started on the process.
Materials And Equipment Required
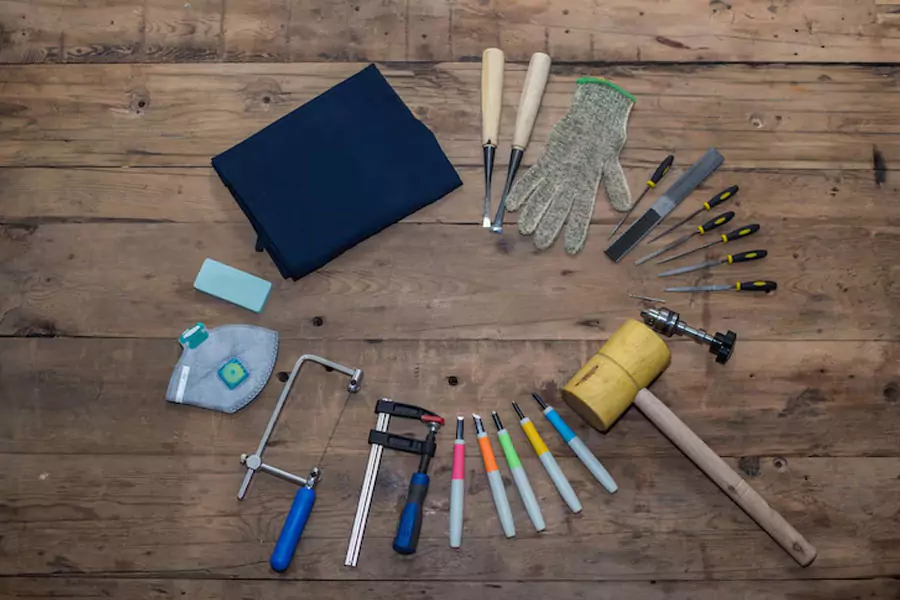
Before you begin, gather these tools and protective equipment:
- Glass cutter (oil-filled desirable)
- Straightedge or ruler
- Measuring tape
- Safety glasses and gloves
- Cutting oil (if not an oil-filled cutter)
- Fine-grit sandpaper or a sharpening stone
- Marker or grease pencil
- Level working surface
- Replacement glass (slightly larger than needed)
- Suction cup glass lifter (optional but helpful)
It is easier to cut glass accurately and safely for window repair with the correct tools.
Step 1: Take the Measurement
The first step in fixing a broken window is to measure it precisely. Measure the width and height of the new glass area with a tape measure. Take 1/8 inch off each measurement to allow for temperature changes. This will fit just right, but not too snug.
Tip: Double-measure to prevent cutting out glass that is too large or too small.
Step 2: Prepare Your Workspace
Select a level, even surface, such as a workbench or heavy table. Place a rubber mat, towel, or newspaper on it to prevent slipping and to cushion the glass. Provide a good light source and have pets and children stay away from the work area.
Safety is paramount when you are handling glass. Wear your gloves and goggles, and then proceed on.
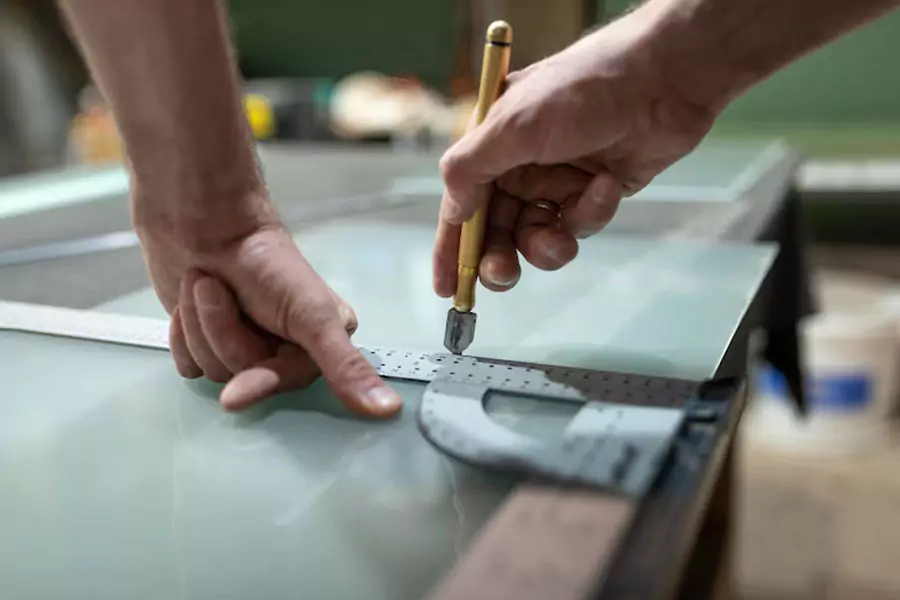
Step 3: Mark where you will cut
Set your sheet of replacement glass in your work area. With your grease pencil or marker and your straightedge, draw your cutting line. Ensure your straightedge is precisely where your measurement is.
This is an essential step to cut cleanly and precisely, particularly if you are not experienced in cutting glass for window repair.
Step 4: Mark the Glass
Since you are cutting with your glass cutter, push down firmly as you draw the cutter along your straightedge in one continuous motion. You will get a smooth scratching noise. Do not double up on the same line—sometimes, it creates rough edges or cracks.
Tip from Best Offer Glass: Apply a few drops of cutting oil along the line when scoring with a dry glass cutter. This will allow the blade to slide more easily and will cut more effectively.
Step 5: Snap the Glass
After you score it, hold the glass so that the scored edge is over the rim of your work surface. Put even, gentle pressure on both sides of the score—fingers or a suction cup lifter. The glass will snap along the score.
If it doesn’t break, don’t force it. Please return to the score line and double-check it. Occasionally, tapping the bottom of the scored line with the cutter will make the break begin.
Step 6: Smooth the Edges
Smooth out the edges of the glass with a sharpening stone or sandpaper. This is necessary to prevent harm to yourself and ensure that the glass is a proper fit and securely placed once you have installed it.
Step 7: Remove the Broken Glass
Before the new glass is installed, you need to remove the pieces of the broken window first. Wear gloves and goggles, and gently remove the old pieces of glass. A putty knife or pliers can be employed to remove stubborn shards.
After cleaning it, scrub the frame. Remove the old glazing compound or putty and the metal points that hold the glass in place.
Step 8: Install the New Glass
Place the new cut glass in the window frame. It will slide in easily with the 1/8-inch space you have created. Secure it with new glazier’s points—install them at 6-inch centers around the perimeter of the frame.
Use another coat of glazing compound along the edges to secure the window pane. Apply it even with a putty knife to create a level finish.
Step 9: Allow It to Settle
Allow the glazing compound to dry according to the manufacturer’s instructions (typically 7–14 days) before painting or washing the window. After curing, your window is weather-sealed, secure, and as new.
Good job! Now you have the skills to repair a broken window pane and cut glass for window repair yourself!
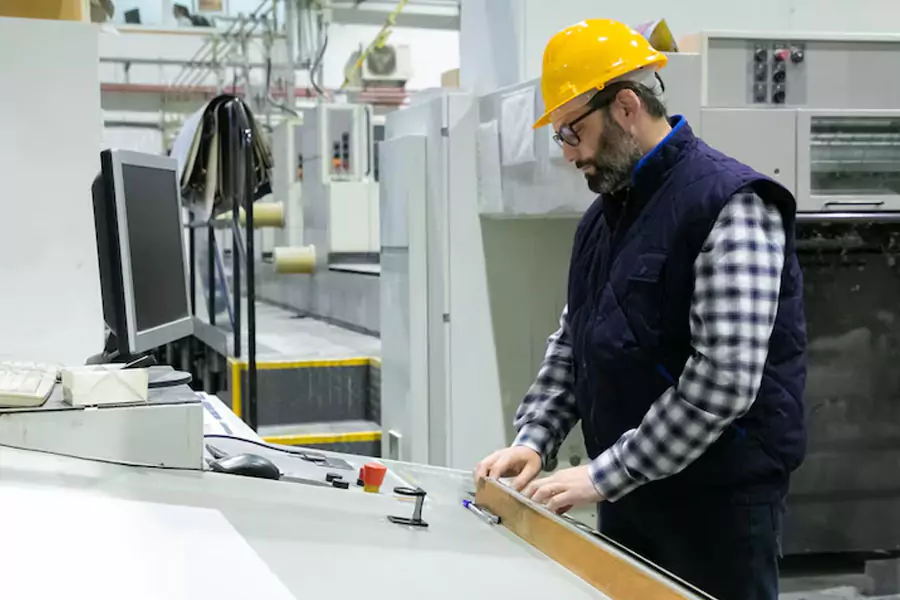
When To Call A Pro
This is a DIY guide to minor repairs; however, not everything that happens to windows can be repaired by yourself. Major cracks, specialist glass (such as double-glazed or tempered), or awkward windows may require professional assistance.
Best Offer Glass is at your service. Our expert staff offers affordable same-day repair to safely and effectively repair broken window glass. If you need assistance with residential or business glass issues, we are your best bet for window repair.
Being self-sufficient in cutting glass for window repair and fixing a broken window pane is a practical and money-saving skill. If you are willing to invest the preparation, patience, and carefulness, you can make your home warm and inviting at a fraction of the cost. Do you need a professional, or are you willing to do it yourself?
Best Offer Glass is here to assist you with professional help. Call us today for affordable, high-quality window pane replacement services.
Also read: How to Handle a Glass Emergency at Home or Business – Step-by-Step Guide
Recent Posts
- When to Replace a Tempered Glass Window Instead of Repairing It
- Storefront Glass Replacement and Building Safety: Why Timing Matters
- Balcony Glass Doors Explained: Design Options, Safety, and Practical Benefits
- Why Same-Day Service Matters When Dealing with a Broken Office Window
- Common Sliding Glass Door Problems and How Professionals Fix Them
- Why Every Commercial Property Needs an Emergency Glass Breaker for Safety Preparedness
- Rain Glass Doors vs Clear Glass Doors: Which Is Better for Privacy and Light?
- Single Pane vs Double Pane Windows: What Homeowners Need to Know
- How Failed Seals Affect Double Pane Windows and What Replacement Solves
- Balcony Glass Door Safety Features Every Property Owner Should Know
Enquiry Now
Join Our Newsletter
Office Timings
- Sunday-Monday: Closed
- Tuesday-Thursday: 10:00am - 6:00pm
- Friday and Saturday: 10:00am - 3:00pm
©2026 Best Offer Glass. Lic # 1106427
Crafted with DigiCorns
Get a FREE Consultation!
Call Us at (415) 310-6948 NOW
to be connected to one of our experts!